PXE Server Configuration
This guide provides a step-by-step procedure to configure a PXE + ISO + Kickstart server using the OpenCHAI Manager Tool. It enables automated provisioning of HPC, AI, and login nodes over the network.
The PXE server setup is fully automated using Ansible, with a Python-based CLI to manage DHCP client definitions in an enterprise-safe manner.
Overview
The PXE server configuration performs the following tasks:
Installs and configures DHCP, TFTP, HTTP, and PXE boot services
Mounts and exports OS ISO content over HTTP
Generates PXE boot menus dynamically
Configures static DHCP reservations (MAC → IP mapping)
Supports interactive review and modification of DHCP clients
Allows execution to be restricted to specific nodes using Ansible
-l
PXE-Server Setup to boot service nodes
# Go to the OpenCHAI directory where the repository was cloned from GitHub
cd OpenCHAI
Define DHCP Clients
Create or edit the DHCP client input file:
vim ./servicenodes/dhcp_clients_mac.txt
Format:
<node_name>,<mac_address>,<ip_address>
Example:
master01,00:0C:29:43:18:B4,172.10.3.101
master02,00:0C:29:43:18:B5,172.10.3.102
login01,00:0C:29:43:18:B6,172.10.3.103
This file is used to generate static DHCP reservations.
Step 2: Run PXE Server Setup
Run the PXE server setup script:
bash servicenodes/pxe_server_setup.sh
During execution:
All DHCP clients are displayed in a table
You are prompted to update MAC or IP values if required
Final confirmation is requested before execution
Step 3: Restrict Execution (Optional)
To limit execution to a specific PXE server node or inventory group:
bash pxe_server_setup.sh headnode
or
bash pxe_server_setup.sh pxe_servers
This internally maps to the Ansible -l (limit) option.
Step 4: PXE Boot Client Nodes
Once the PXE server setup completes successfully:
Power on target nodes
Enable PXE / Network Boot in BIOS or UEFI
Select network boot option
Installation proceeds automatically using Kickstart
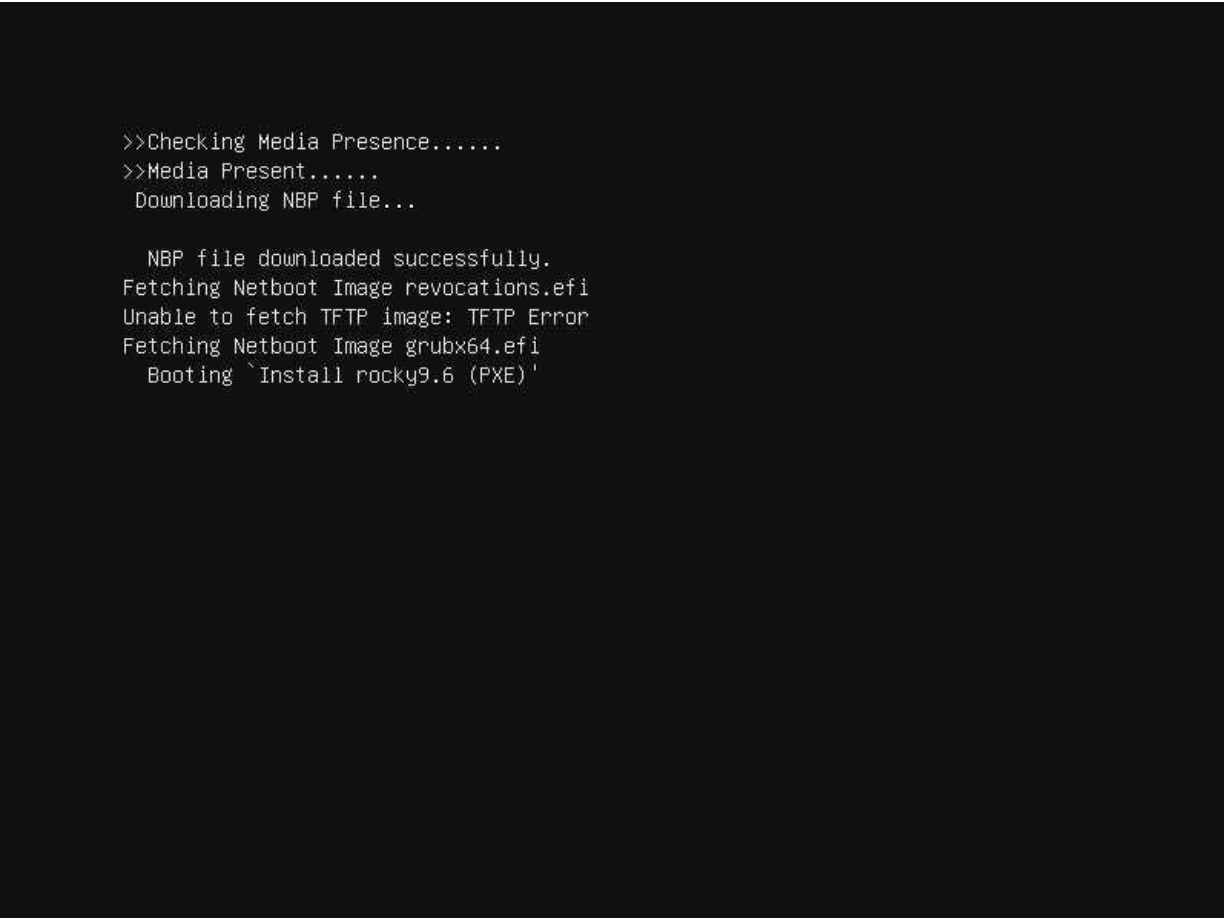
Bonus: PXE Client Node
On the PXE client nodes, wait for a minute the following screen is appearing.